
Install your eSIM before you travel, connect after you land, and keep the same eSIM for future trips.
Install before travel. Connect after landing.
Add your eSIM while you still have Wi-Fi. After you arrive, select Get Your Guide eSIM for mobile data and turn on data roaming.
You don't need a new eSIM for every country — keep this one installed and top it up for your next destination.
Six things that take a minute now and save you trouble later.
Choose iPhone or Android, then your install method. Fast Install is the quickest — no app needed.
Tap Install eSIM on iPhone. Your iPhone opens the eSIM setup screen automatically — follow the Apple setup steps until the eSIM has been added to your device.
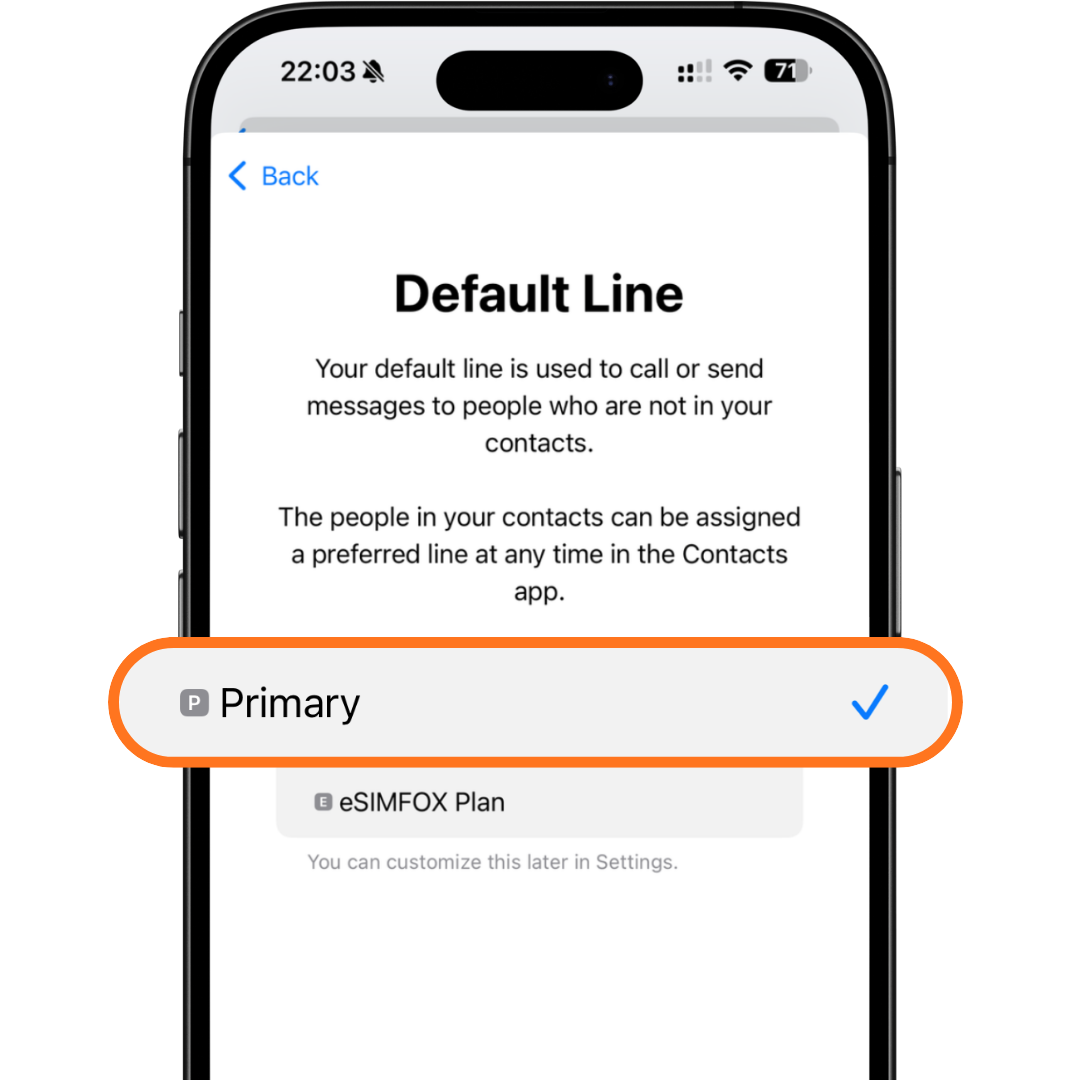
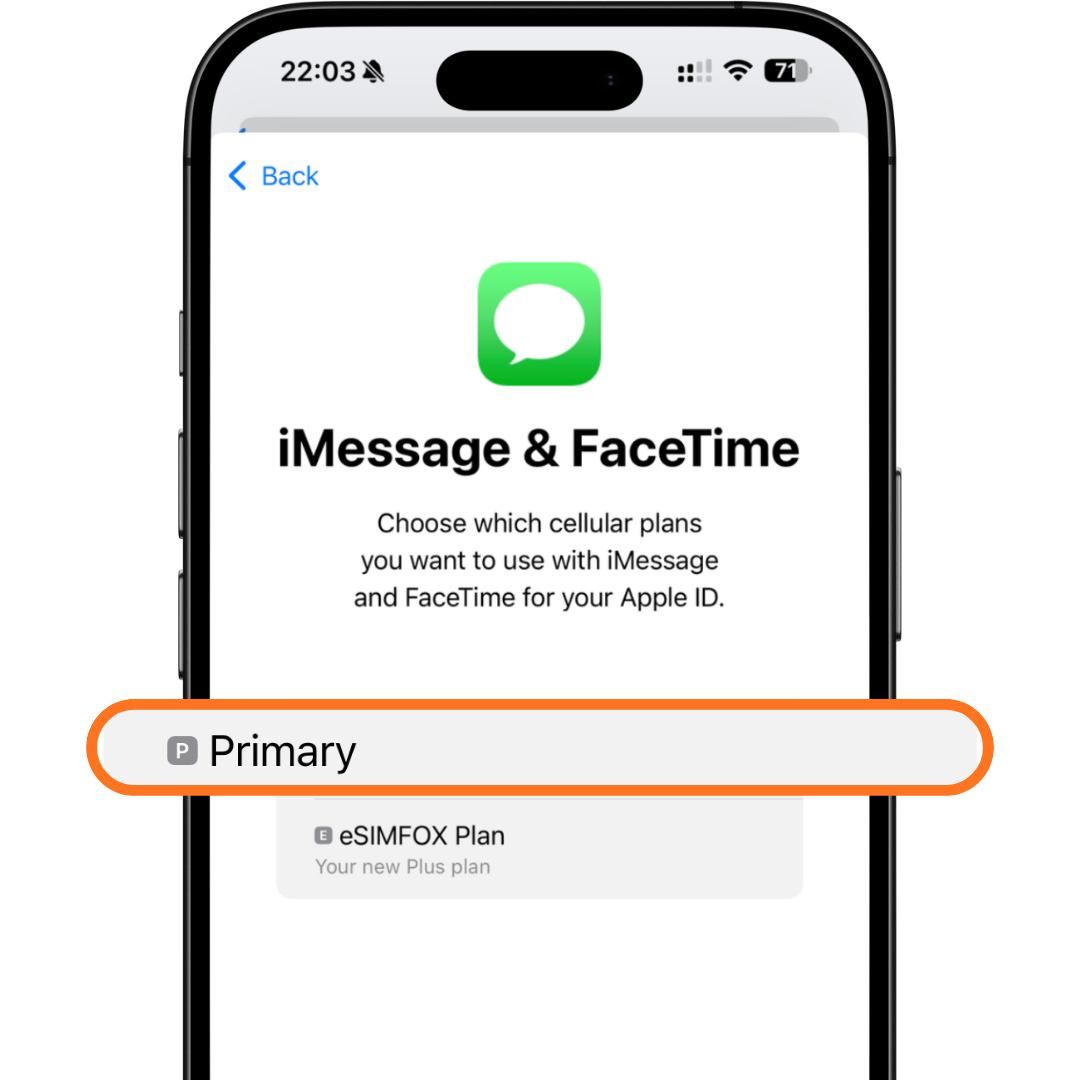
When your iPhone asks which line to use for Default Line, choose Primary. When it asks which line to use for iMessage & FaceTime, choose Primary again. Why: your Get Your Guide eSIM plan is for mobile data only — your normal SIM should stay selected for calls, SMS, iMessage and FaceTime.
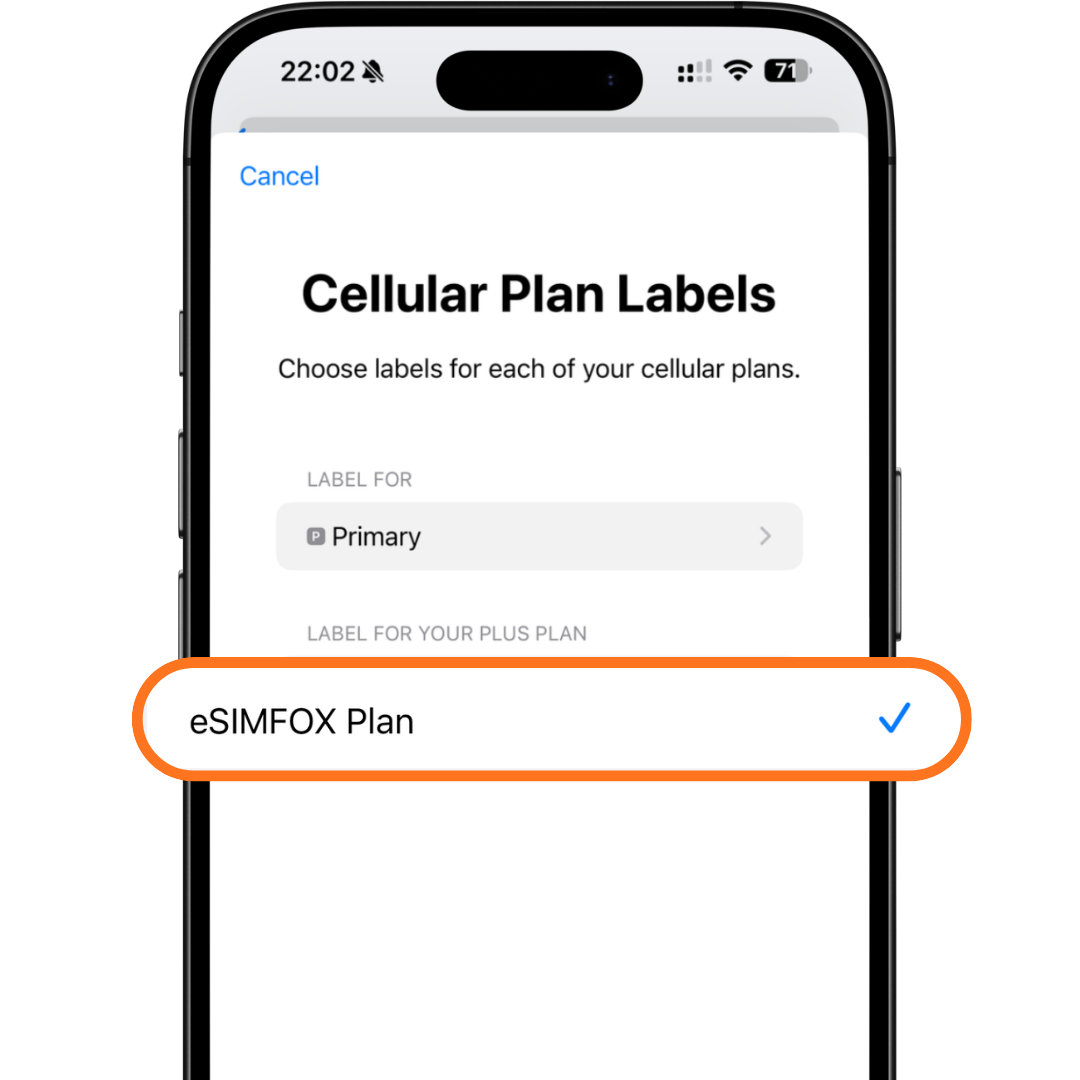
Go to Settings → Cellular, and set Get Your Guide eSIM as your Mobile Data line. Why: this keeps your normal SIM in charge of calls and texts while your travel data uses the new eSIM.
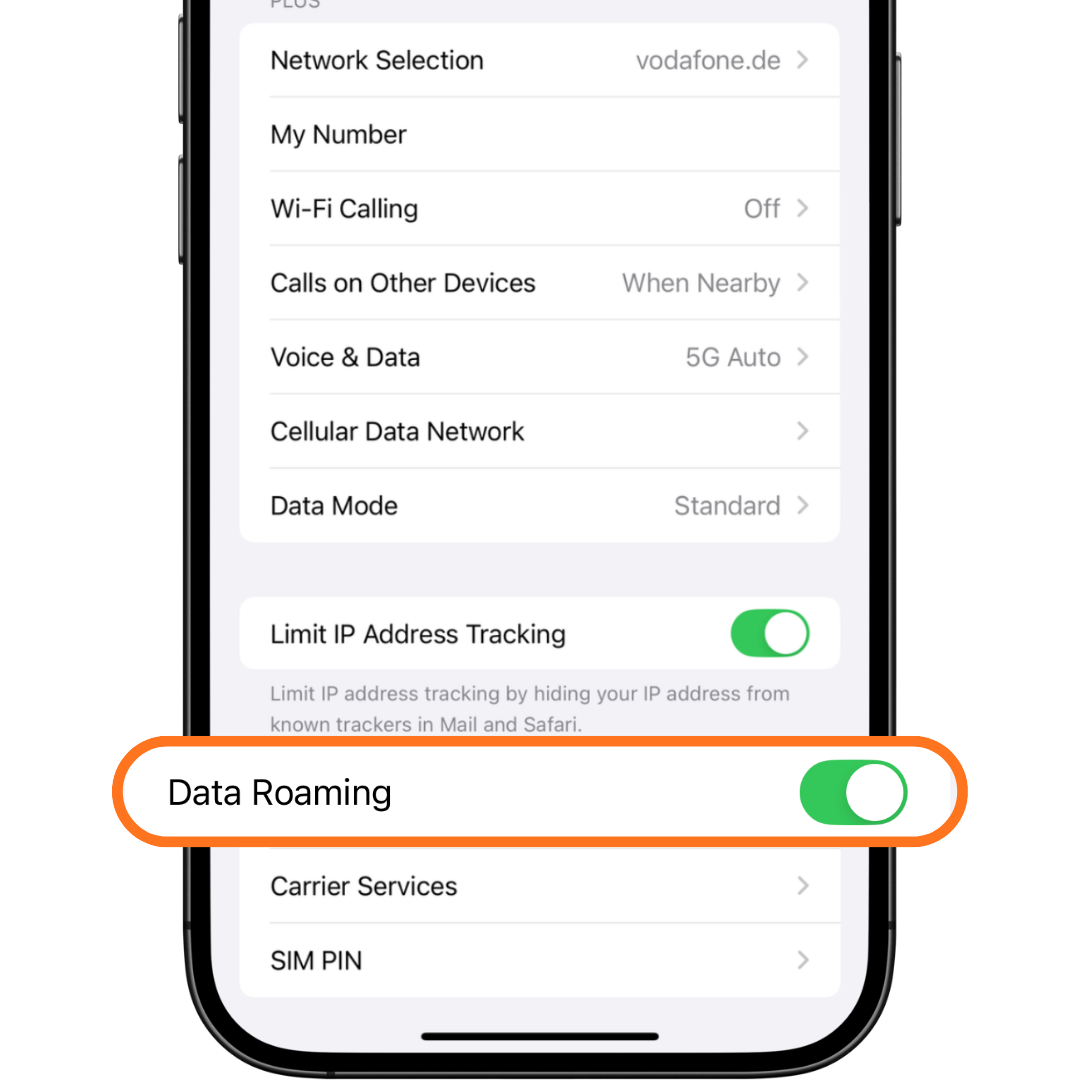
Turn Data Roaming ON for your Get Your Guide eSIM plan. Why: travel eSIMs need data roaming enabled to connect to partner networks abroad — this does not activate roaming on your normal SIM, only on the Get Your Guide eSIM plan.
Connect to a network
Your eSIM is installed. Now activate mobile data in your destination country.
Open cellular settings
Go to your phone's SIM or Cellular settings.
Turn on your Get Your Guide eSIM eSIM
Make sure the eSIM line is enabled.
Select Get Your Guide eSIM for data
Set Get Your Guide eSIM as your mobile data line.
Turn on data roaming
Enable Data Roaming for the Get Your Guide eSIM eSIM.
Disable data switching
On iPhone, turn off Allow Cellular Data Switching. On Android, keep mobile data on the Get Your Guide eSIM eSIM.
Wait or restart
Wait 2–5 minutes. If it doesn't connect, restart your phone.